Build your own RC ramp
-
By
Lisa K.
Build an RC ramp yourself - a step-by-step guide
When fancy racing cars or massive off-road vehicles speed around bends, accelerate to top speed in no time at all and overcome adventurous obstacles, the fascination among car fans is huge.
Fortunately, anyone can become a racing driver with an RC vehicle, whether young or old!
In addition to a sleek car, you need a suitable track and one or two obstacles to bring even more action into play.
In this article, we will show you how to build an RC ramp yourself and guide you through the exciting DIY project from planning to the finished product. One thing is already clear: as soon as the first vehicles jump over your self-built RC car ramp, it will become clear that the work was definitely worth it.
Ramp for remote-controlled cars: planning and design are the be-all and end-all
Starting without planning is usually not a good strategy. Therefore, think about how exactly you envisage the ideal ramp and create a sketch . At the same time, determine the dimensions, which must of course match your RC cars. Large and heavy remote-controlled cars need more stable ramps than lightweights.
Ideally, you should already know at the planning stage exactly which RC models you want to drive on the ramp later. For a "do-it-yourself" ramp, the vehicles should not be too heavy, but still robust.
To complete the planning phase, make a list of the materials you need to build the RC ramp. Also check whether you have all the tools you need and borrow or buy the missing tools if necessary.
Build your own RC ramp: You need these materials and tools
The materials and tools you need for your RC car ramp depend on exactly what type of ramp you want to build. Nevertheless, we would like to give you an overview of the most common equipment for building an RC ramp below.
Tools
You can build an RC ramp yourself with these tools:
- Saw or jigsaw and sawhorse
- Drill and drill press
- Sandpaper and sanding machine
- Screwdriver
- hammer
- Measuring tape
- Meter stick or ruler
- Pencil
- Safety goggles and gloves
Materials for the base of the ramp
These materials can be used to build the ramp base:
- Wooden panels/plywood: For the ramp base
- PVC or plastic pipes: For so-called pipe ramps
- Flexible HDF board: For the ramp structure
- Slats: As intermediate struts for more stability
- Fastening elements: Nails and screws for final fastening, as well as adhesive tape and cable ties for temporary fixing of materials
- Paints and brushes: For decorating the RC car ramp
Surface materials for more traction
These materials are used to improve traction when building your own RC ramp:
- Short-pile carpet: Improves traction and absorbs shocks
- Rubber mat: Durable, non-slip surface that is well suited for indoor and outdoor ramps
- Fine-grained sandpaper: Improves traction (even on uphill and downhill sections)
- Anti-slip film: Self-adhesive film with a non-slip surface that adheres to both wood and PVC
Alternatively, you can roughen the wood structure and provide more traction by manually adding grooves. The advantage: You can work with the wood that is already in use and do not have to apply an additional coating. However, you are unlikely to achieve the maximum possible effect in terms of traction with modified wood.
Protective measures and safety equipment
Safety first - this also applies when building an RC ramp! Especially if you are building the ramp together with your child, you should take certain safety precautions . First and foremost, you need solid safety equipment, consisting of safety goggles, gloves, practical work clothing and, if necessary, a respirator mask. You should also have a first aid kit to hand just in case.
Before you start building the RC ramp, make sure that the construction environment is free of obstacles and that power sources are clearly recognizable as such. Explain to children and young people in advance exactly how to use electricity responsibly and explain to them how the individual tools work and how to use them safely. It is also essential that you supervise the young craftsmen when building the RC ramp yourself.
The importance of safety remains even when the RC jump ramp is finished. If a remote-controlled car jumps over a defective ramp, this can be dangerous.
For this reason, you should inspect the RC ramp carefully after each use: Is there any visible damage? Are all the installed materials firmly in place or has a screw loosened, for example? If you find any defects, you must repair them before using the RC car ramp again.

Step by step to the perfect RC ramp: DIY instructions
Would you like to build an RC ramp yourself and are looking for simple instructions? Then you've found what you're looking for! We explain step by step how to build your own ready-to-use RC car ramp.
Step 1: Material preparation
First, gather all the materials and tools you need and lay them out neatly. To build this RC ramp, you will need
- Two sheets of plywood
- One flexible HDF board (purchased or e.g. from the back of an old cupboard)
- Roof battens
- Screws or nails
- Jigsaw
- Sandpaper
- Pencil
- Optional: Surface material (e.g. carpet, sandpaper or adhesive foil with anti-slip coating)
Step 2: Create the base
Place the two plywood panels flush on top of each other and draw the arc shape of the ramp on the top panel according to your sketch. Take a jigsaw and saw out the boards along the markings you have made.
Step 3: Attach the intermediate struts
Saw the roof battens to the length of your RC car ramp and place them straight under the two plywood panels, where they will act as intermediate struts for more stability. Use nails or screws to fix the roof battens to the panels.
Step 4: Attach the surface
Now the surface is still missing: First saw the HDF board to the correct dimensions. If the size of the board is sufficient, you can also make two layers and place them on top of each other. Place the sawn HDF board(s) on the prepared base of the ramp and secure them with nails or screws.
Step 5: Finishing touches
The "Build your own RC ramp" project is in the final spurt: time for the finishing touches! Check the stability of the ramp by applying pressure to it from different sides. The installed parts should not shift against each other.
Take another look at every single nail or screw and tighten them if necessary. Sand down any sharp outer edges with some sandpaper, trim any protruding wooden parts and make sure that the ramp surface is nice and smooth.
If you want to line the surface, you can also do this directly. You can simply cut self-adhesive films to size and stick them on, while most other materials - such as carpet - are easy to apply using a staple gun.
Step 6: Test drives
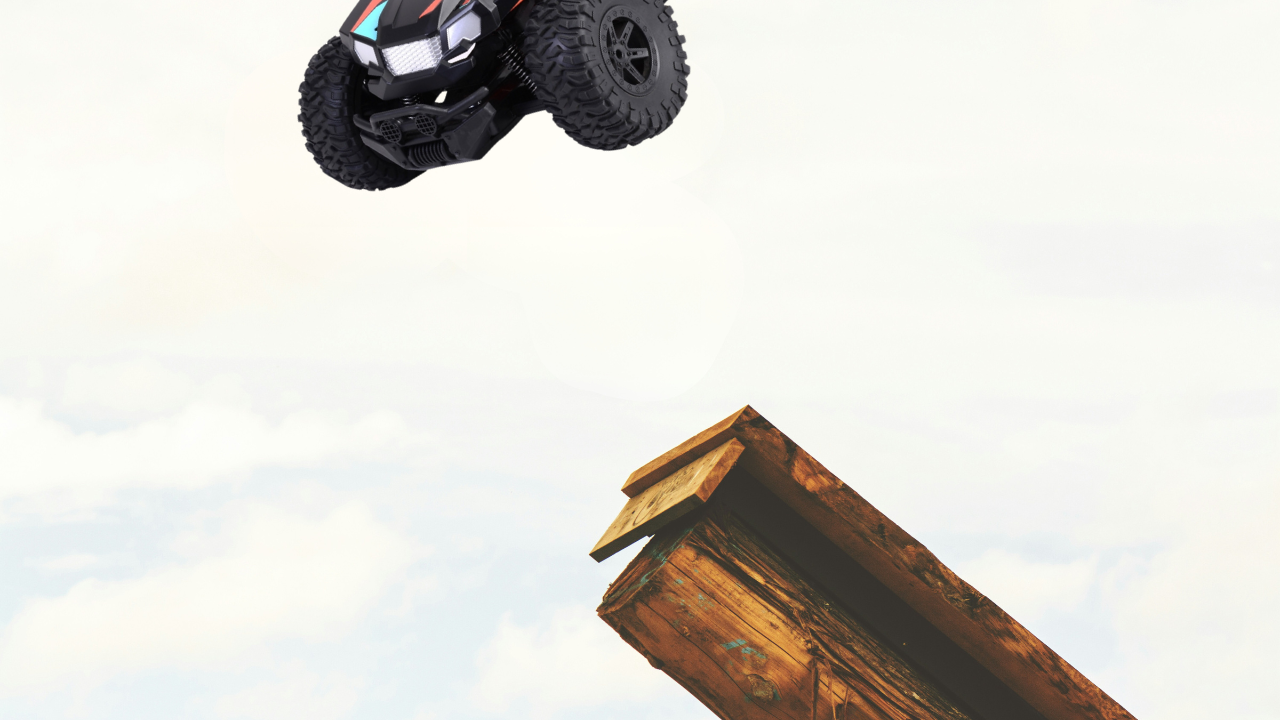
Then it gets serious: was building the RC ramp yourself worth it? Find out and start your first test drive. Focus on functionality and stability and observe how the ramp behaves under different loads. Ideally, you will find that your RC car ramp has turned out exactly as you imagined it. If you notice any defects instead or see a need for improvement, that's no problem. Start planning again and think about how you can adapt and optimize your self-made jump ramp.
RC car ramp: focus on stability and durability
Building an RC ramp yourself is fun, but for most people it's not something they want to repeat all the time. Fortunately, if you pay attention to stability and durability right from the start when building your own RC ramp, this is not necessary. This starts with the choice of materials. In terms of stability, use robust materials that have a certain resistance and are therefore less likely to be damaged. Reinforce the construction with additional struts and supports to give the RC ramp even more support.
Also consider a surface treatment to make the ramp more weather-resistant. After all, wooden ramps in particular are sensitive to moisture in their raw state.
To ensure that your ramp is and remains not only stable and durable, but also safe, you should check it thoroughly on a regular basis and rectify any defects and faults promptly. Safe use also includes choosing the right location: only use the ramp in places where it cannot pose a danger to passers-by or property.
The right RC car for your DIY ramp: Dickie Toys suggests
Would you like to build an RC ramp yourself, but don't yet have a remote-controlled car with which you could use the ramp? We can solve that problem! First of all, make yourself aware of what a "ramp-compatible" RC car needs to have, and bear in mind that this is also influenced by the height of your ramp. As a rule of thumb, you can remember The higher the ramp, the more stable the RC vehicle needs to be. Nevertheless, remember that driving over ramps always carries the risk of damaging the car. Even extremely stable vehicles are not immune to damage caused by wild jumps. The use of an RC ramp is therefore always at your own risk.
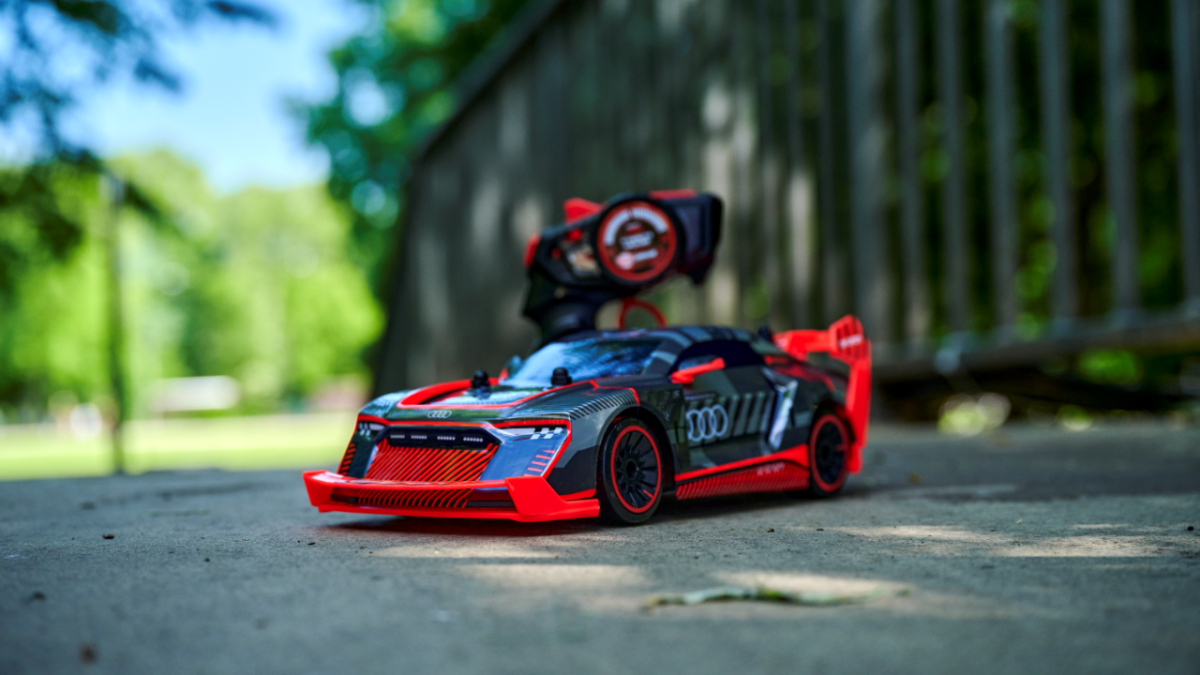
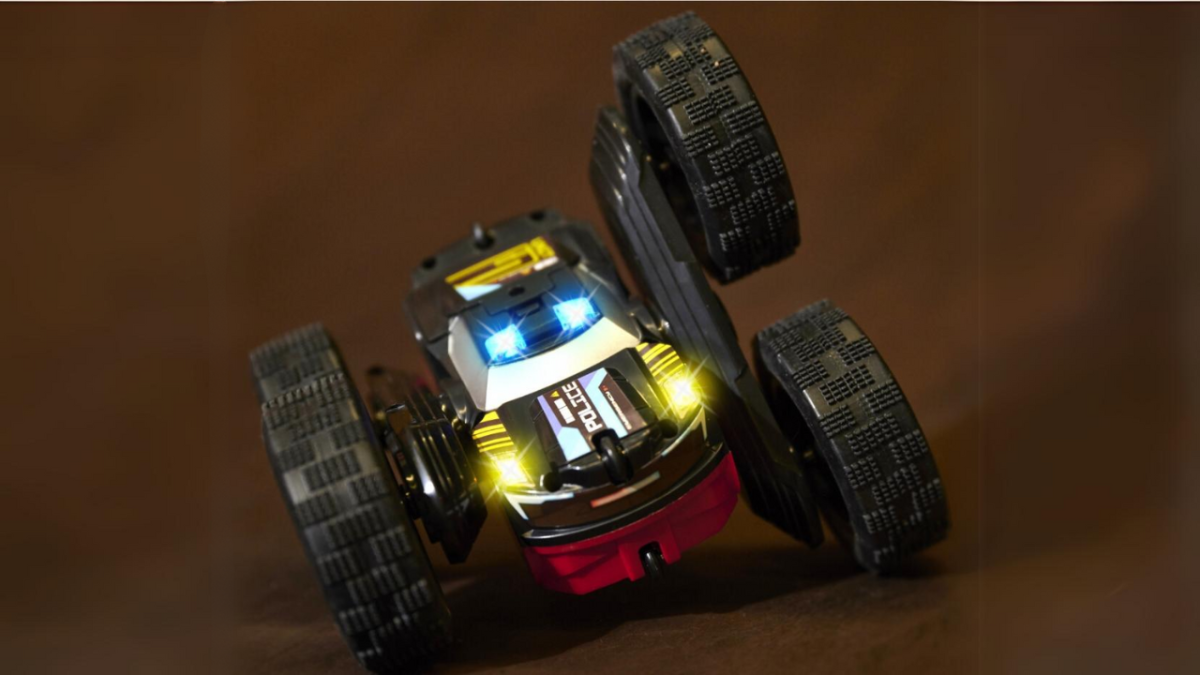
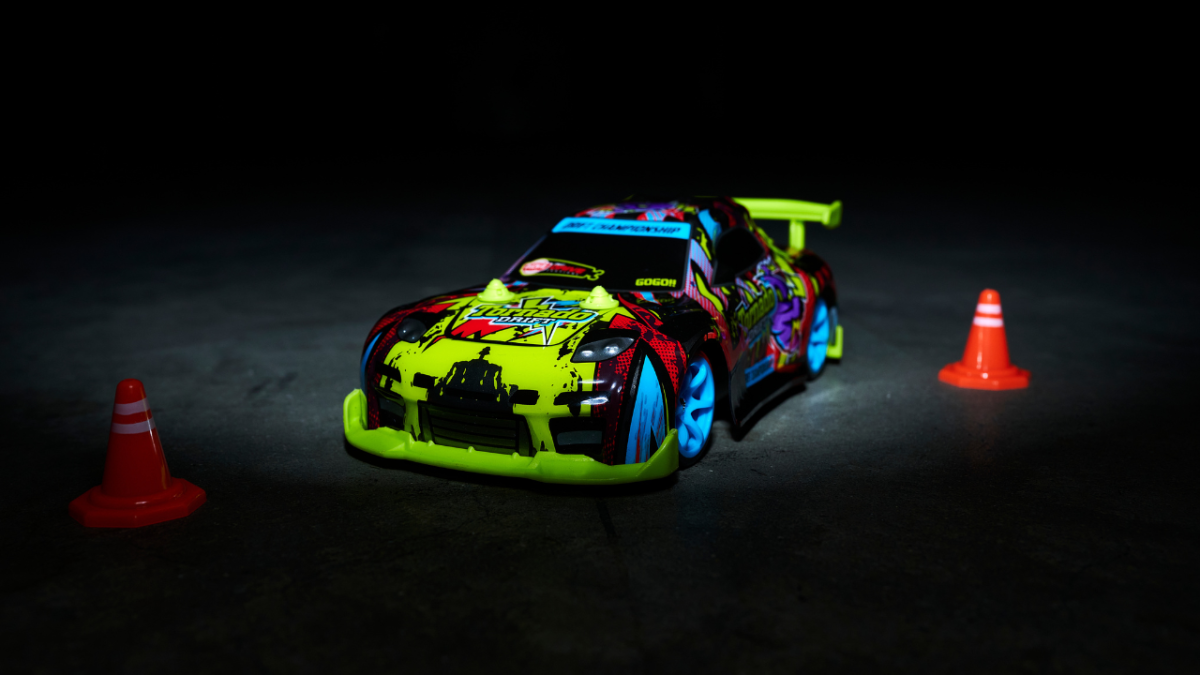
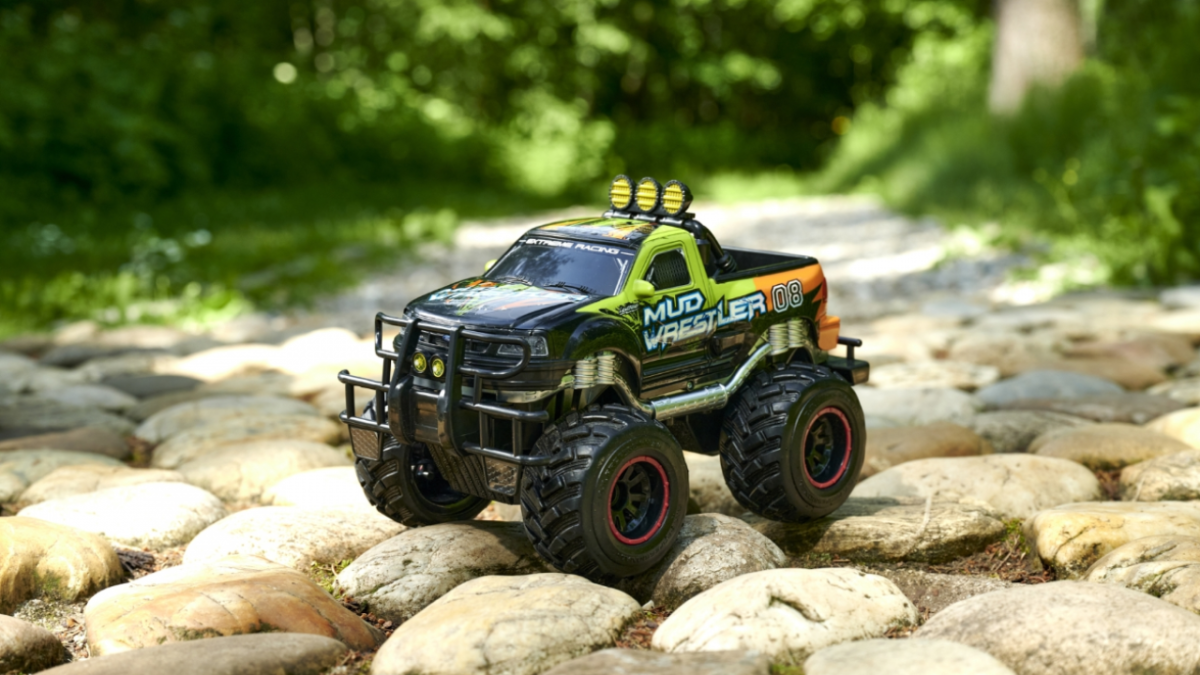
If you want to take the risk, we wish you lots of fun and would like to recommend some of the remote-controlled vehicles from the Dickie Toys range. The RC Tumbling Flippy Car with large solid rubber wheels and top speeds of 8 km/h is ideal for rollovers. The massive RC Badland Explorer is even more robust in direct comparison and reaches speeds of up to 15 km/h, which is why it requires a slightly more experienced driver at the wheel. Or perhaps the visually striking RC Rep Attack monster truck will pique your interest. Take your time to familiarize yourself with our range and get to know vehicles with which you can overcome any obstacle.
Get to work: build your own RC ramp and let the fun begin!
Just for you, for your child or as a joint parent-child project: building an RC ramp yourself is a great experience that you can look back on every time you jump over the ramp. With the right materials, a clever plan and a little craftsmanship, you can easily build a ramp that is stable and durable and that you can extend and adapt as you wish.
So dare to build your own RC ramp and experience for yourself how exciting DIY projects can enrich your RC hobby world. And who knows: maybe the ramp is just the start and the first of many RC DIY projects that you will take on. Maybe next you'll build your first car racing track with the help of the Dickie guide to building your own race track?
Want some inspiration away from the DIY theme? The Dickie Toys homepage has plenty to offer! Take a look at our colorful theme worlds and discover our entire range.